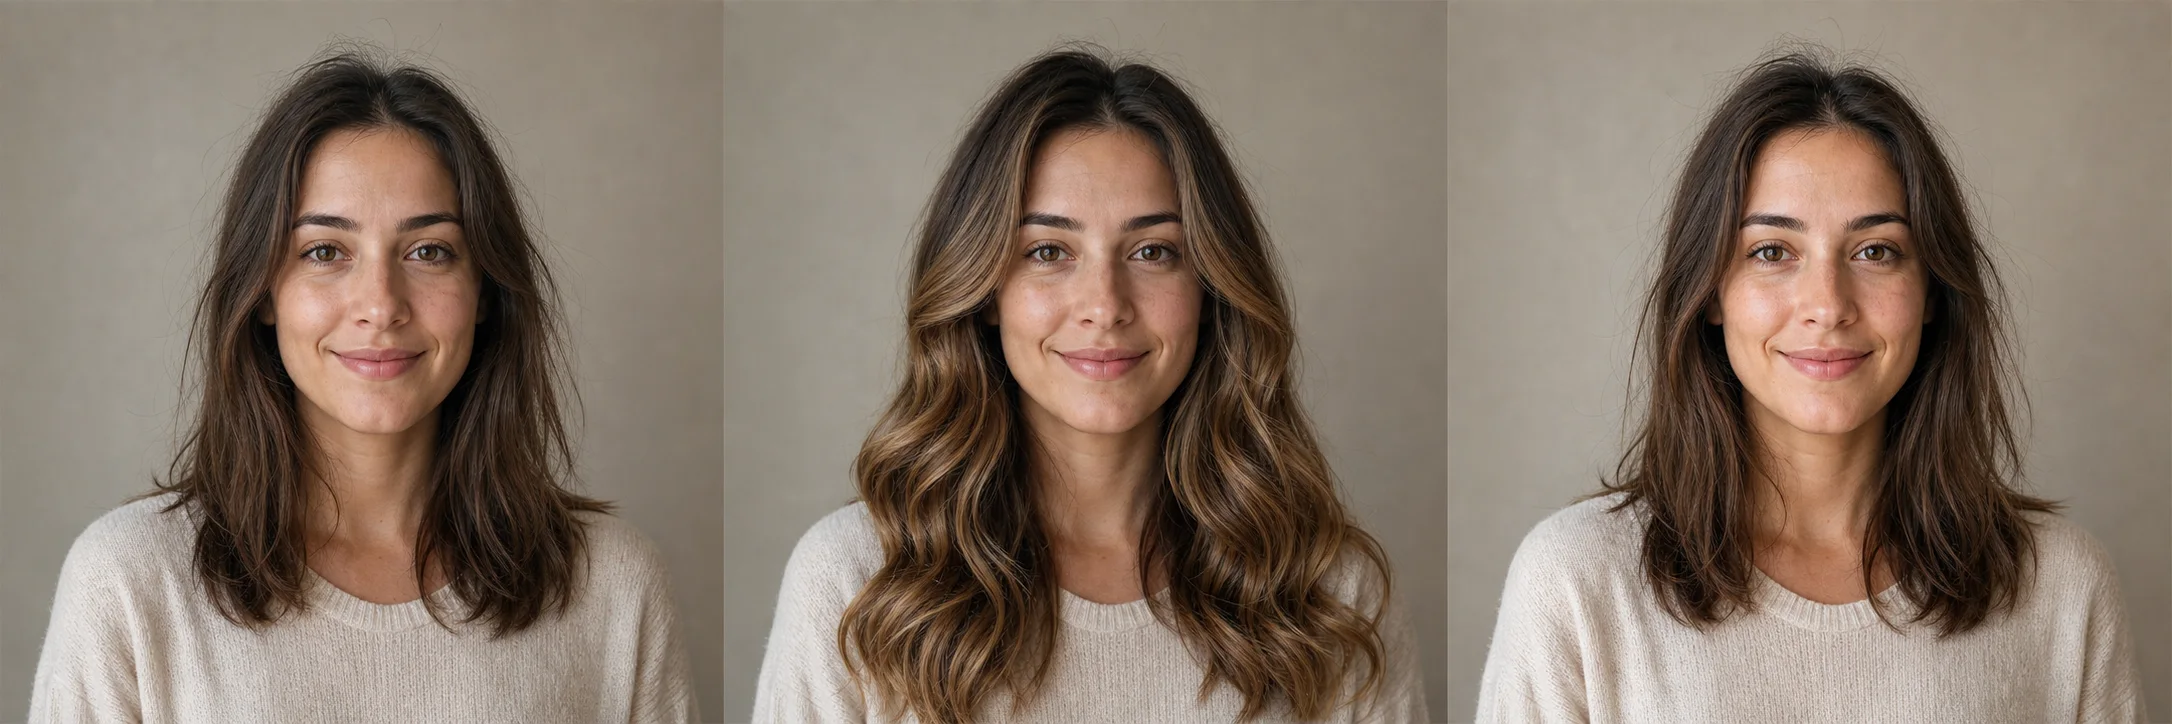
A strong source photo gives an editor more reliable information about the person, the light, and the scene. You do not need professional equipment. A phone portrait is usually enough when the face is visible, the image is in focus, and the framing leaves room for the change you want to make.
Start with a clear, recent image
Choose the highest-resolution version available rather than a screenshot copied from social media. Repeated compression can blur eyelashes, hair edges, and fabric texture—the small cues that help an edit blend into the original photograph.
Check focus at full size. If both eyes and the hairline look crisp when you zoom in, the image is usually a good candidate. Mild grain is workable; strong motion blur and missed focus are harder to recover without changing how the person looks.
Use simple, readable light
Soft window light or open shade is ideal because facial features remain visible without hard highlights. Avoid standing directly under a ceiling light, which can put the eye sockets in shadow, and avoid a bright window immediately behind the subject unless you deliberately want a silhouette.
If the portrait is dark, keep the original file. Brightening a small screenshot before upload often amplifies compression artifacts. Rollip can work from the darker original while preserving more source detail.
Frame for the intended edit
For hairstyle changes, include the complete head, hair, shoulders, and a little space above the crown. For clothing effects, include the torso and avoid cropping at the exact place where a garment should continue. For scene changes, a wider portrait gives the new environment more room to feel natural.
- Keep the face large enough to see clearly.
- Avoid hands, sunglasses, or heavy shadows covering key facial features.
- Use one main subject when you want an unambiguous portrait edit.
- Leave a small margin around hair and shoulders instead of cropping tightly.
Do a ten-second privacy check
Before uploading, look behind the subject for documents, addresses, computer screens, school badges, or other details you would not want in the finished image. Crop them out first when they are not part of the edit.
Only upload a photo you have the right to use. Rollip uses the image to produce the requested edit, does not use uploaded photos to train AI models, and automatically deletes uploaded photos and generated results within seven days.
A Rollip source-to-result check
The example below was made specifically for Rollip with one fictional source portrait. The source keeps the full crown, shoulders, face, and a quiet background in frame. That gives both the caramel-waves transformation and the restrained light enhancement enough visible information to work from.
When you open the Rollip editor, inspect the source before choosing an effect. If the face or intended editing area is already clipped, choose another photo rather than asking the generation to invent the missing edge.